
Scanning
The Scan page works with your device’s camera or a physical barcode scanner (which just types the code and presses enter), and has three modes. Whatever you scan — an item, a box, a shelf, an event QR — Kiste figures out what to do with it based on the mode you’re in and what you scanned last.
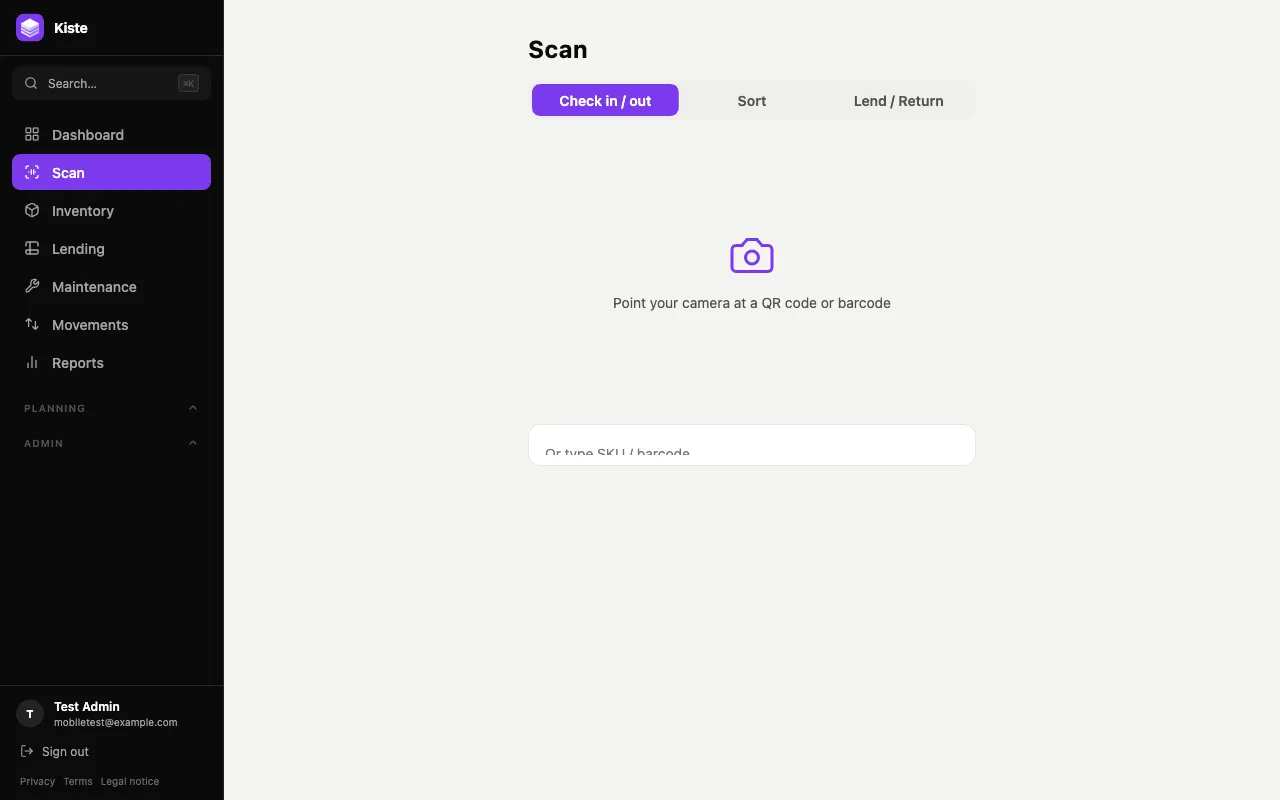
Check in / out
Section titled “Check in / out”This is the default mode for day-to-day stock movement.
- Scan an item that’s on a shelf → it’s taken off the shelf (quantity −1, location cleared). This is a check-out.
- Scan a shelf or box first, then scan an item → the item is placed there (quantity +1, location set). This is a check-in.
- Scan an item with no location yet → Kiste asks you to scan a shelf next, so it knows where to put it.
- Scan an event’s QR code → jumps straight into Lend / Return mode with that event pre-selected as the borrower, so you don’t have to switch modes and pick it again.
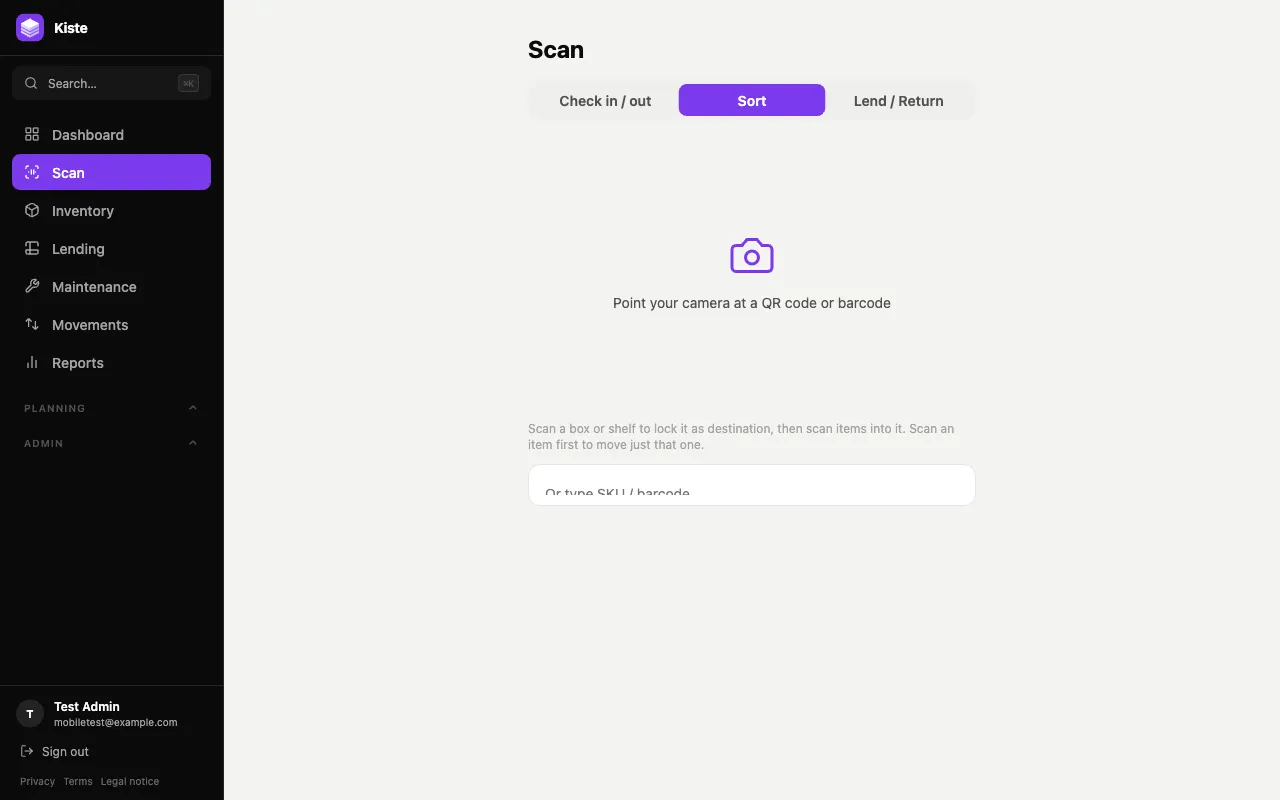
Use Sort when you’re putting away a delivery or tidying shelves, without it counting as stock in/out.
- Scan a box or shelf first → it’s locked as the destination. Every item you scan afterward drops straight into it, and the destination stays locked for the next scan — so you can scan a whole armful of items into the same box in a row.
- Scan an item first (before any destination) → it’s held, waiting for you to scan a shelf or box next.
- A box is locked as the destination and you scan a shelf/site → the whole box moves there, not an item — useful for relocating a packed box to a different shelf.
- Made a mistake? An undo option appears after each sort, putting the last item (or box) back where it was.
Lend / Return
Section titled “Lend / Return”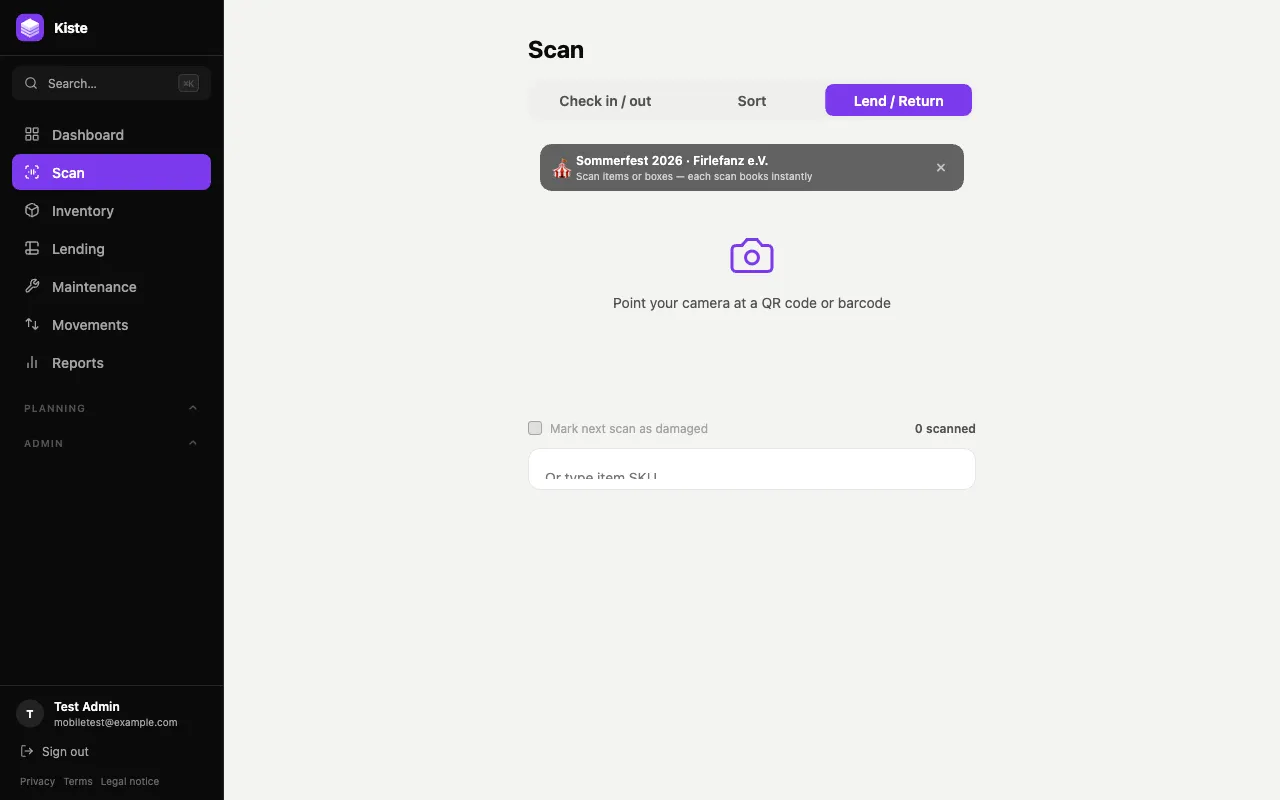
Pick a borrower once — an event, a contact, or both — then scan items or boxes in a row with no confirmation needed for each one:
- Choose an event and/or contact, optionally set a due date, and tap Start.
- Scan items — each scan checks one unit out to that borrower.
- Scanning an item that’s already on loan returns it instead.
- Tick Mark next scan as damaged before scanning a return if the item came back in bad shape — it’ll be flagged and can carry a damage note.
Lending a whole box in one scan
Section titled “Lending a whole box in one scan”If several items always go out together in a box, scan the box’s own QR code instead of each item:
- If nothing in the box is currently on loan, scanning it lends the box’s entire current contents to the selected borrower in one go, and logs one loan per item inside.
- Scanning the same box again returns everything that left with it.
- Any item in the box with zero stock is skipped with a warning — the rest of the box still goes out.
Manual entry
Section titled “Manual entry”If the camera isn’t available or a code won’t scan, every mode has a text field to type or paste a SKU/barcode instead — this also works with a plug-and-play USB/Bluetooth barcode scanner, since those just type the code and press enter.
Using a handheld scanner (e.g. Zebra)
Section titled “Using a handheld scanner (e.g. Zebra)”For high-volume scanning, a dedicated handheld scanner is faster and more reliable than the camera — no aiming, no autofocus wait, and it works on damaged or curved labels. This includes Zebra’s all-in-one Android devices (TC2x/TC5x, EC3x/EC5x, etc.), which have a built-in scan engine and trigger button.
Tick Use a handheld scanner below the text field on the Scan page. This hides the camera preview (saving battery and avoiding a confusing duplicate view) and keeps the text field ready to receive scans without needing to tap it between each one. The setting is remembered per device.
Kiste doesn’t need any special integration for this — it reads whatever is typed into that field, exactly like a keyboard. On a Zebra device, that’s handled by DataWedge, which is already installed:
- Open DataWedge on the device and create (or select) a profile.
- Associate the profile with the browser app you use to open Kiste.
- Under Keystroke Output, make sure it’s enabled.
- Under Basic Data Formatting → Send As, choose Enter (0x0A) as the action key (sent after each scan) — this is what tells Kiste a scan is complete, the same way pressing Enter on a keyboard does.
Once configured, pulling the trigger on the device types the scanned code straight into whatever field has focus — with Use a handheld scanner enabled, that’s always the Scan page’s input.